FILE 04 // THREE-ACT LINKED CASE

Cases Beyond the First Clue

A single clue rarely closes an investigation. In our multi-scene adventures, the conclusion you prove in Scene 1 becomes an active tool for Scene 2, and both threads converge in Scene 3. Grab a notebook: below is the complete three-act dossier of The Dioptric Prism of Söderarm.

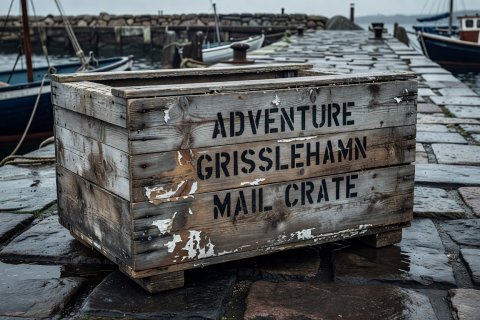
Weathered pine shipping crate stencilled with maritime weights on a wet stone pier Act I // Grisslehamn Jetty

Scene 1: The Unclaimed Mail Crate

At 06:30, the coastal packet steamer docked at Grisslehamn carrying an oak crate billed as “18.5 kg — Crown Glass Prism Assembly.” When the customs clerk weighed the sealed crate on the pier balance at 06:45, it registered exactly 14.0 kg.

CLUE 1.1 The lead customs seal pressed at the Småland Glassworks shipping room was completely unbroken when the steamer arrived.
CLUE 1.2 The prism assembly itself weighs 4.5 kg; the oak crate and dry wood-shavings weigh 14.0 kg.
CLUE 1.3 A tarred shipping tag inside the bill-of-lading pouch bears the kiln batch number BATCH 408.
Verify Act I Conclusion
Act I Proof: Because the 4.5 kg prism was missing (18.5 − 14.0 = 4.5 kg) while the glassworks lead seal remained intact, the prism was never boarded onto the steamer—it was withheld inside the Småland Glassworks before sealing. Carry BATCH 408 to Act II.
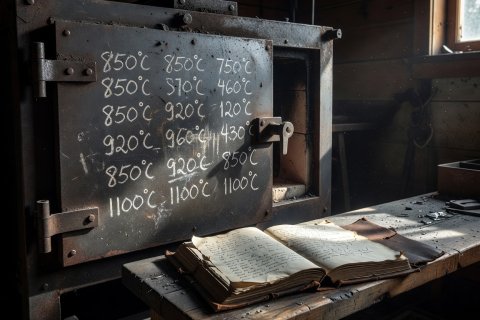
Cast-iron annealing oven door with chalked temperature figures and an open logbook Act II // Småland Glassworks

Scene 2: The Annealing Kiln Log

Inspecting the glassworks annealing room where BATCH 408 was cooled, you find three workers had access to the lead sealing press: Master Blower Ek, Inspector Holm, and Apprentice Vik.

CLUE 2.1 Optical crown glass of 4.5 kg cracks instantly if removed from the annealing lehr before the kiln cools below 60 °C.
CLUE 2.2 Batch 408 reached 60 °C at 23:15 on Thursday; the crate was lead-sealed at 23:50.
CLUE 2.3 Master Ek clocked out at 21:00 (when the kiln stood at 190 °C); Apprentice Vik was delivering cullet to the river barge from 22:30 to 00:15. Inspector Holm signed the 23:50 seal log and dispatched a private parcel to Söderarm Lighthouse marked “Counterweight Shot — Tube 3.”
Verify Act II Conclusion
Act II Proof: Only Inspector Holm was present during the 23:15–23:50 window when the prism could be safely handled without thermal fracture. Carry Tube 3 to Act III.
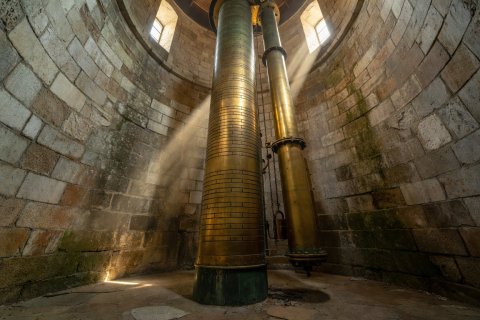
Vertical brass clockwork drive tube inside a stone lighthouse tower with engraved depth marks Act III // Söderarm Tower

Scene 3: The Fresnel Lens Gallery

Why did Inspector Holm ship the undamaged prism privately to Söderarm Lighthouse disguised as counterweight shot for Tube 3 instead of letting it travel by the public steamer?

CLUE 3.1 Inside Tube 3, suspended above the rotation weight on a braided copper wire, hangs the intact Batch 408 prism—etched with a faint flaw line that would have failed the Royal Pilot Board’s public inspection at Grisslehamn.
CLUE 3.2 Holm’s brother-in-law, the head keeper at Söderarm, had cracked the tower’s original prism while cleaning soot and faced dismissal unless he swapped the flawed Batch 408 prism in secretly and claimed the new shipment was lost in transit.
Verify Complete Case Resolution
Full Resolution: The mystery wasn’t theft for profit, but a cover-up between Inspector Holm and the lighthouse keeper. By sealing an empty crate at the glassworks (Act I & II) and routing the prism inside Counterweight Tube 3 (Act III), they intended to replace the broken lighthouse lens while blaming the carrier for a missing prism.